Komodo Docker Manager
Deploy Komodo Core
Lets get straight to it. Create a folder in your home directory called
compose.yaml
.env
Make sure to read all the options and replace all
Deploy Komodo Periphery
The periphery will be deployed on every server which shall be managed by your Komodo instance. I always choose to use the
Komodo provides a really easy to use shell command for deploying a periphery agent to your server. Run this script as
Deploy a agent
This will also create a systemd service called
Inspect Agent status
All the files the periphery creates like stacks, repos and so on will be put into
Edit Agent config
In there locate a line like
Added passkey
Now restart the service for the changes to take effect
Restart Agent
Finally Spin up Core
Now that we have that out of the way we can spin up Komodo Core. Change back to the directory where the
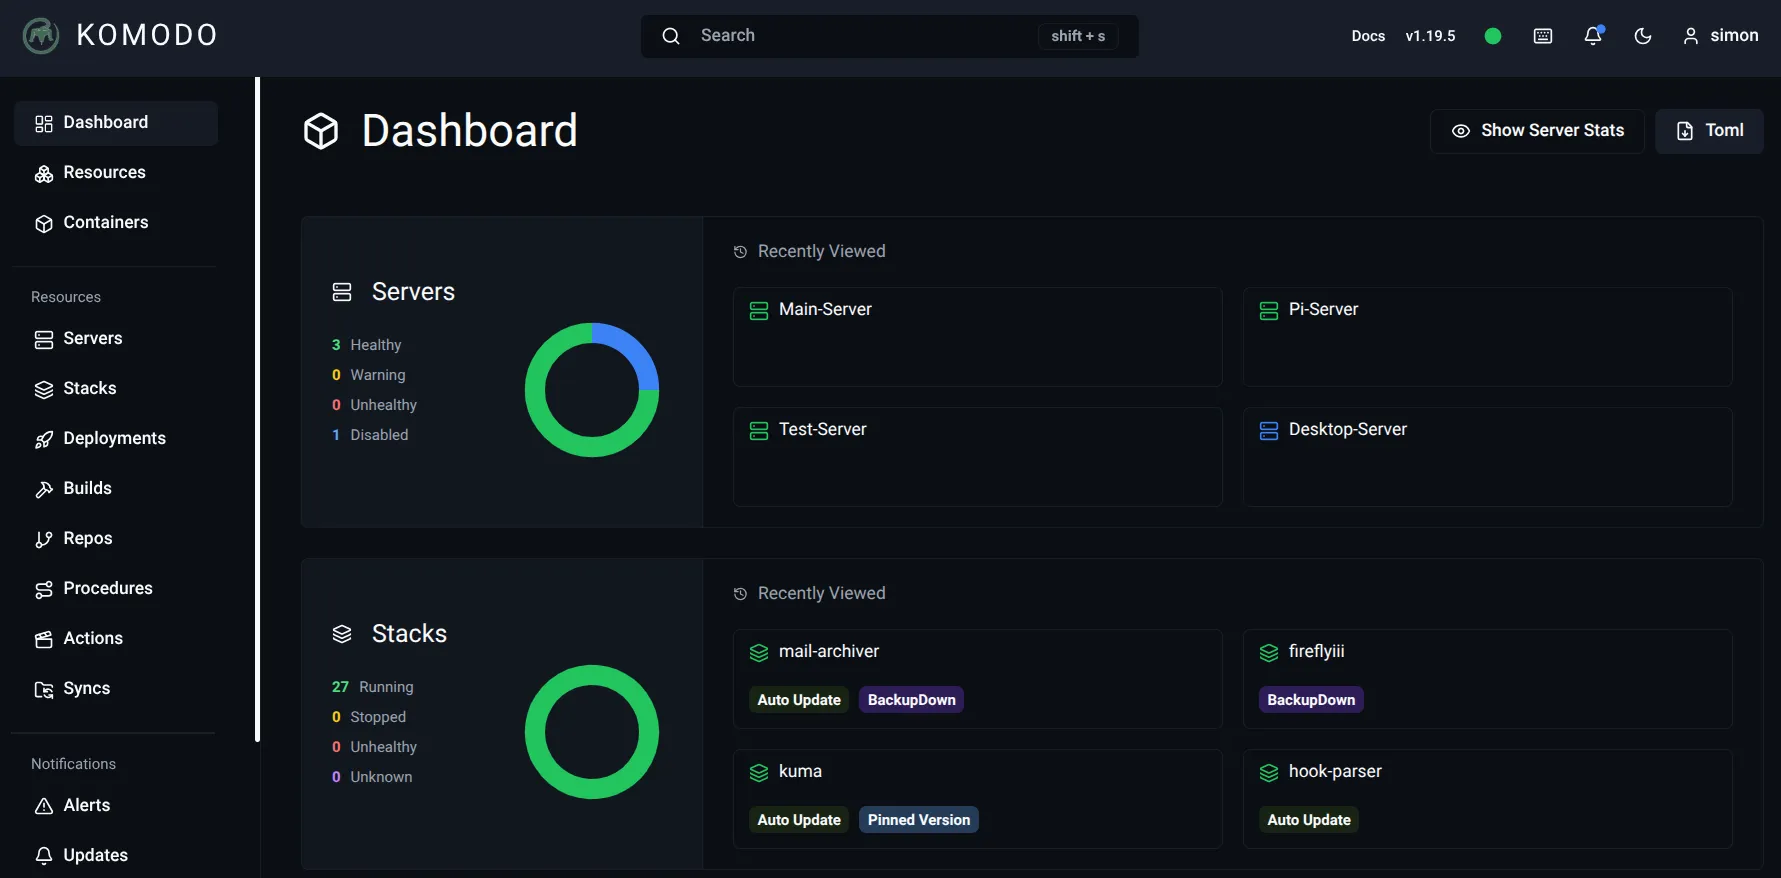
Once everything is settled your new instance will be at
Profit
Now you have unlimited power of your docker instances!
Add a new Server
First just repeat the steps from
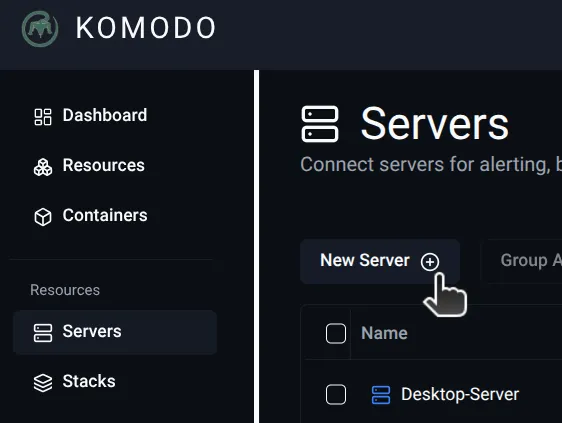
- Navigate to Servers on the left side
- Click on Create new Server
- Give the Server a Nice Name
- Click Create
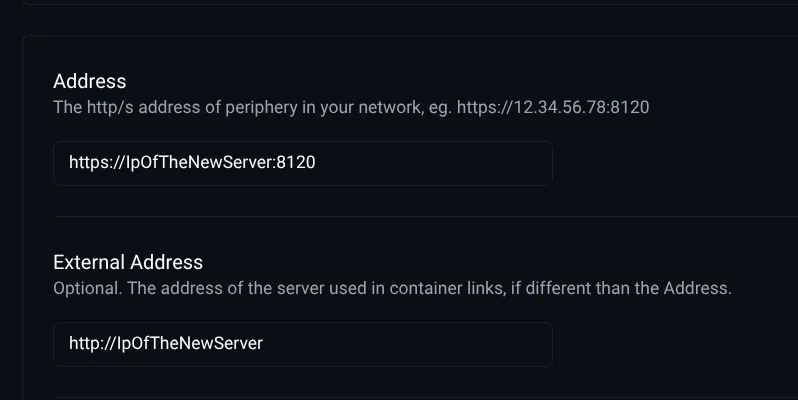
- Replace the two indicated parts with the ip of your new server
- Its important to use https and the port for the first one
- Enable the server at the very top
- Press Save
Congrats, you just added your first server. You should now be able to view all kinds of stats for it and also use it.
Deploy a Stack
This will most likely be the most important workflow for users tbh.
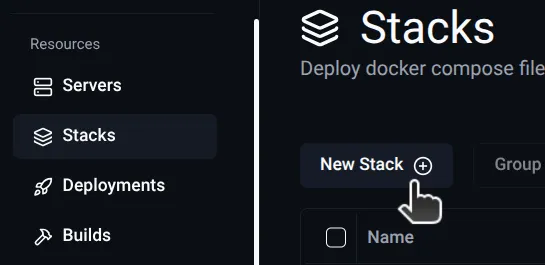
- Navigate to Stacks on the left side
- Click on Create new Stack
- Give the Stack a Nice Name
- Click Create
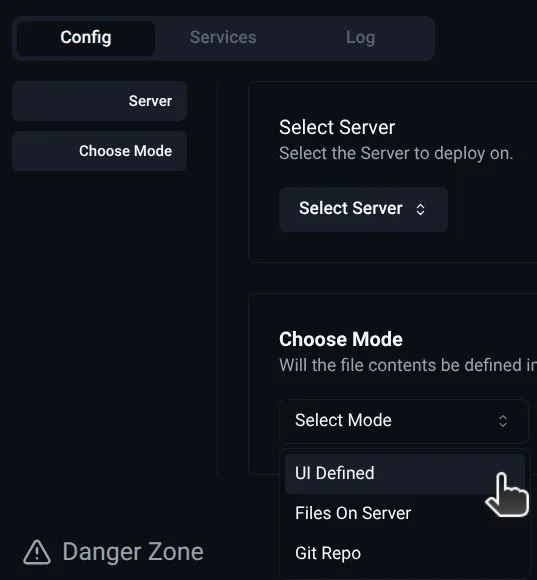
- Select the Server where you want your docker stack to run
- For the Mode we can choose
UI Defined - There will already be a nice example hello world provided
- Press save at the top
- Now we can press
deploy at the top to get the ball rolling
If everything worked you should see some logging output in the
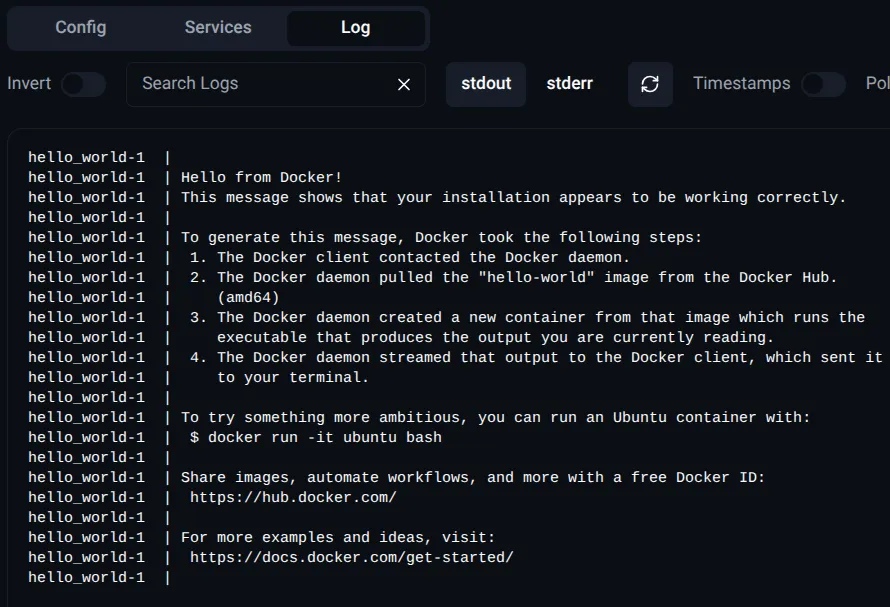
There are a lot more options when editing a Stack but they are relatively self explainatory.